

Overview of Scissor Lift Batteries
Scissor lifts are powered by deep cycle batteries that provide hours of operational capacity.
However, over time, scissor lift batteries wear out and need replacement to keep your lift running
efficiently. Follow these steps to safely change the batteries on a scissor lift and get back to
work with minimal downtime.
Tools and Equipment You’ll Need
Before you begin, gather the necessary tools:
- Safety gloves and goggles
- Wrench set or socket wrench
- Battery lifting strap or harness (for heavier batteries)
- Battery cleaning solution
- Terminal brush or wire brush
- Replacement batteries (Check your scissor lift manual for specifications)
1. Ensure Safety First
- Turn off the scissor lift and remove the key.
- Disconnect the lift from any external power sources.
- Wear protective gear, including gloves and safety glasses, to avoid contact with battery acid.
2. Locate the Battery Compartment
- Depending on the model, the battery compartment may be under the platform or in a side-access panel.
- Use the lift’s manual if you’re unsure of the battery location.
3. Disconnect the Batteries
- Identify the negative (-) terminal and disconnect it first. This prevents accidental short circuits.
- Next, disconnect the positive (+) terminal.
- Use a wrench to loosen the nuts securing the cables.
4. Remove the Old Batteries
- Batteries can be heavy, especially in larger lifts. Use a lifting strap or a second person to avoid injury.
- Carefully lift the old batteries out of the compartment.
5. Clean the Battery Compartment and Terminals
- Remove any corrosion or debris from the battery tray using a cleaning solution.
- Use a terminal brush to clean the cable connectors. This ensures a solid electrical connection.
6. Install the New Batteries
- Place the new batteries into the compartment, ensuring they are positioned correctly.
- Connect the cables to the positive (+) terminal first, then the negative (-) terminal.
- Tighten the connectors securely but avoid overtightening.
7. Inspect Connections
- Check that all cables are secure and free from corrosion.
- Ensure there are no loose or exposed wires.
8. Test the Lift
- Turn the key to the “on” position and check the lift’s operation.
- Confirm that the lift moves smoothly and the battery indicator shows a full charge.
9. Dispose of Old Batteries Properly
- Lead-acid batteries must be recycled according to local regulations.
- Contact a certified battery recycling center or your battery supplier for disposal options.
Pro Tips for Extending Battery Life
1. Regular Charging
- Avoid deep discharges and keep batteries charged when not in use.
2. Check Water Levels
- (for flooded lead-acid batteries): Maintain appropriate electrolyte levels to prevent damage.
3. Keep Terminals Clean
- Regularly inspect and clean battery terminals to avoid corrosion.
Conclusion
Changing scissor lift batteries is a straightforward process, but safety and proper handling are
critical. By following these steps, you can ensure smooth operation and extend the lifespan of
your equipment.
Need help choosing the right batteries or other maintenance supplies? The Lift Bros today for
expert advice and quality parts.
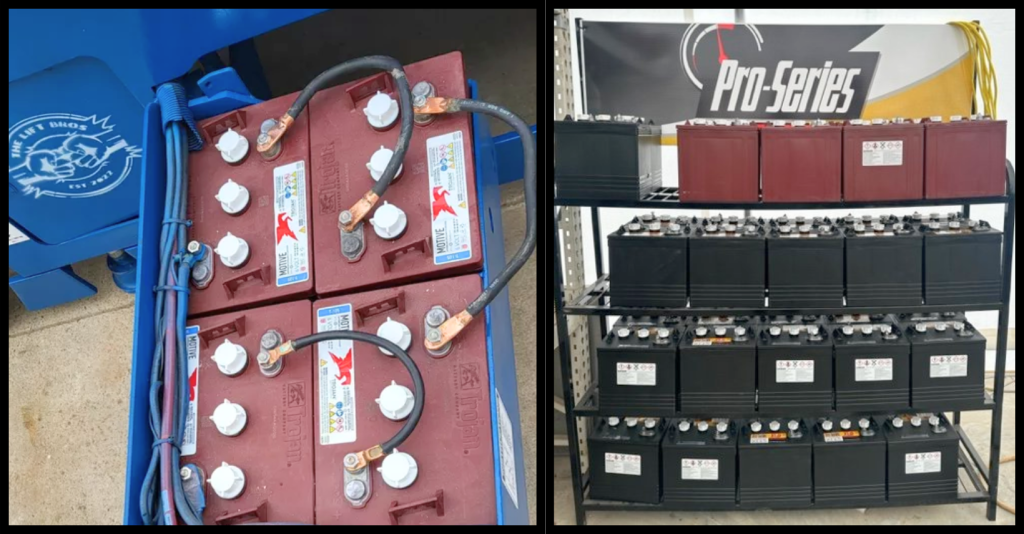
Need to Purchase Batteries?
We also sell new Pro Guide 6v Batteries for JLG, Genie, and Skyjack scissor lifts.
Contact us at 918-476-0541 or Contact – The Lift Bros Inc. for more information!
For a BREIF overview of batteries in a Genie GS-1930 you can check out this video on our YouTube channel!